
ADD A CONTACT GROUP
1. Open the VSee Messenger app.
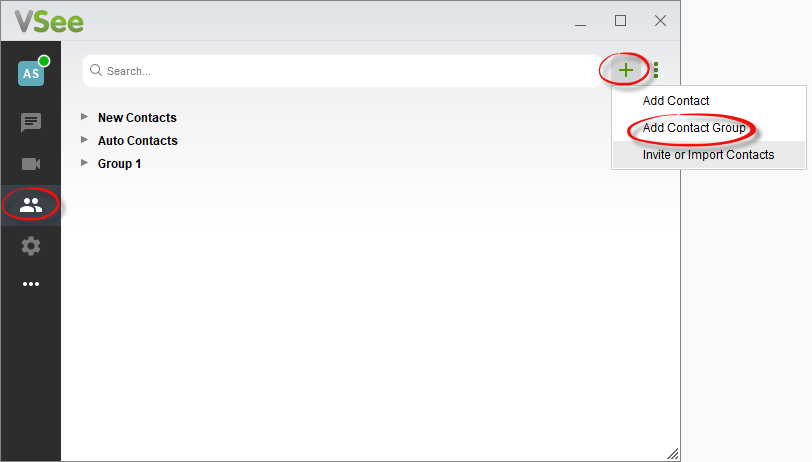
2. Click on the contacts icon then plus icon. Select Add Contact Group.
3. Type the name of your group and click Add to create a new group.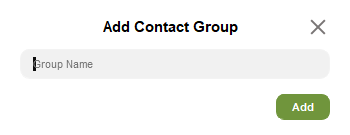
DELETE A CONTACT GROUP
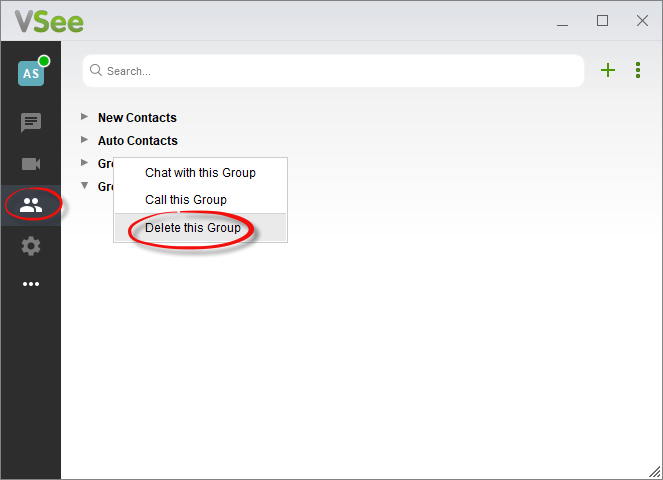
Right-click on a group. Select Delete this Group.
ADD CONTACT TO A GROUP
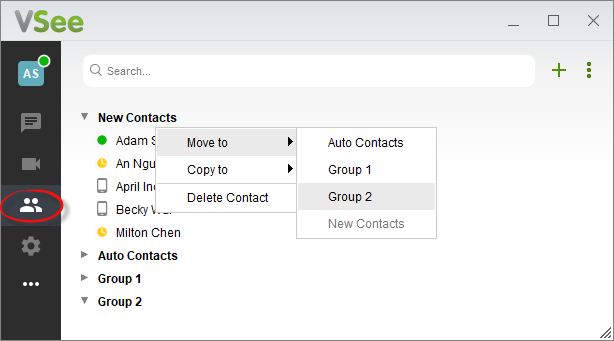
Right-click on a contact. Select Move to or Copy to, then choose an existing group you want to move or copy it to.
DELETE A CONTACT
Right-click on a contact and select Delete Contact.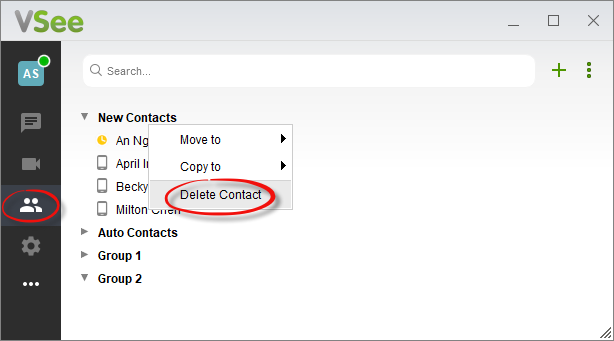
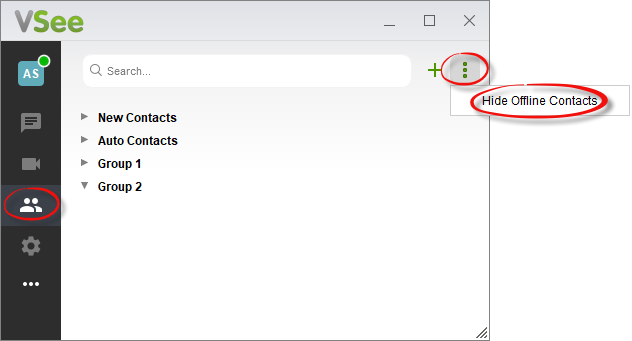
HIDE / UNHIDE OFFLINE CONTACTS
Click on the 3 vertical dots then Hide Offline Contacts. To unhide, do the same steps.
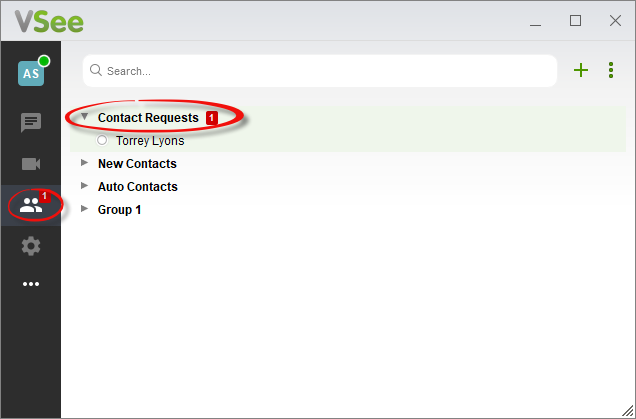
ABOUT “CONTACT REQUESTS” GROUP
Starting with VSee Messenger 4.5, Contact Security has been implemented to ensure that a user can only be contacted via chat or call from others that the user has approved. More about Contact Security here.
The "Contact Requests" contact group will automatically appear if you have any outstanding contact requests to accept, decline or mark as spam. It will disappear if there are no pending requests.
ABOUT “MY COMPANY” GROUP
"My Company" contact group is a feature designed to allow coworkers within the same organization to quickly connect with each other. Thus, the people under "My Company" should be VSee users who all share the same company email domain. This feature is disabled by default. You should only see a "My Company" group if you signed up using your company email and if this feature is enabled for your company by request. To enable for your company domain, contact us at help@vsee.com.