
Multi-Factor Authentication or MFA give VSee Messenger Organizations an extra layer of security as the Providers need to pass an additional verification step to access their accounts.
This feature is enabled upon request for Organizations only (not solo-Providers), please contact Sales or your Account Manager to enable this feature in your Organization.
Setting up MFA for the First Time
If your account belongs to an organization that requires MFA, you will have to set up your account.
Note: This is a one-time setup process.
After logging in to your existing email address, you will need to download and use the Google Authenticator app or any similar authenticator app.

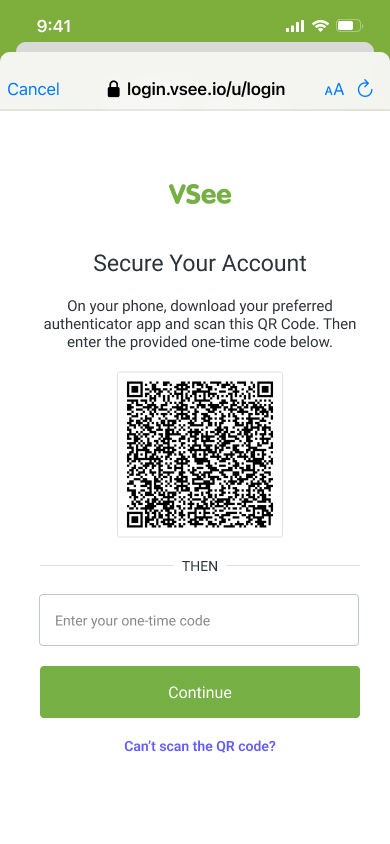
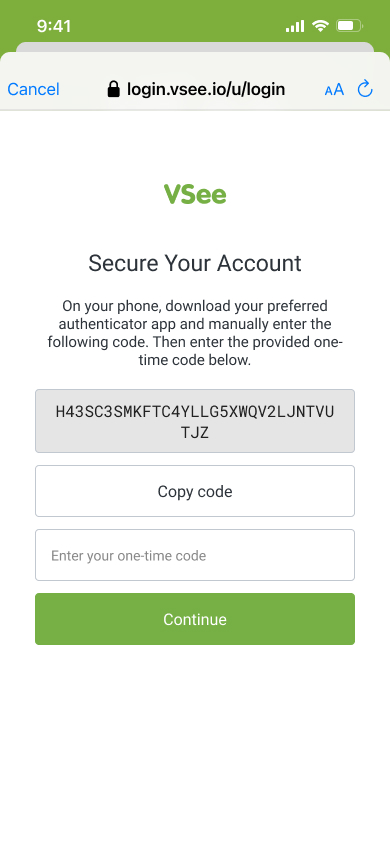
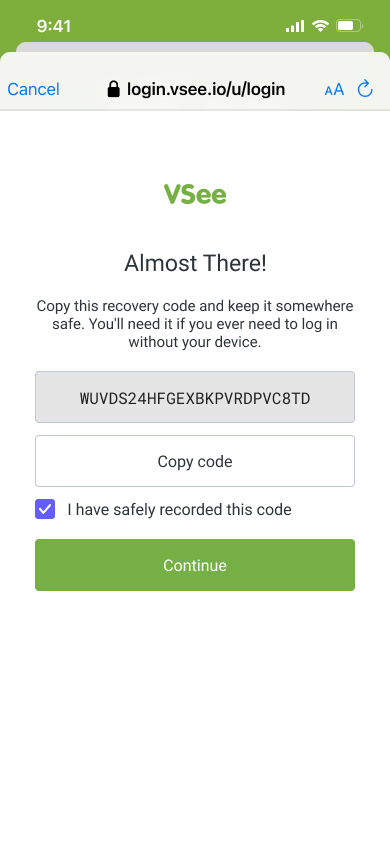
After successfully scanning the QR code or adding the manual code in the authenticator app, you will be asked to copy and safely store a recovery code.
You will need this code if you lose access to the device where the authenticator app is installed.
You will also be asked if you want to trust the device you’re using to log in.
If you click Continue, you will be asked to create a passkey which will be stored in the current device and web browser that you’re using.
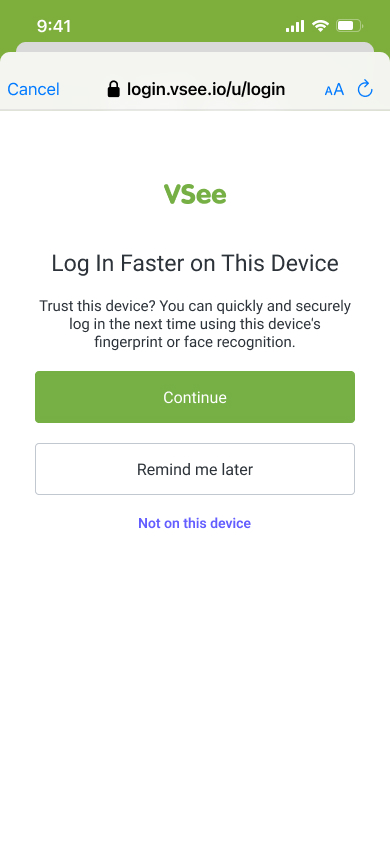
Storing this passkey will allow you to use your device’s built IT biometric features such as touch ID (fingerprint) or face ID (facial recognition), instead of needing to type in the one-time code from your authenticator app each time you log in.
For Windows/Desktop users who have security PIN codes, you will need to input the security PIN code to proceed.
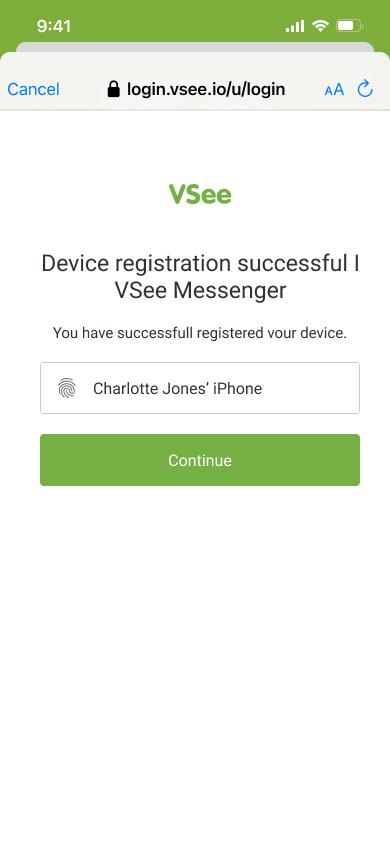
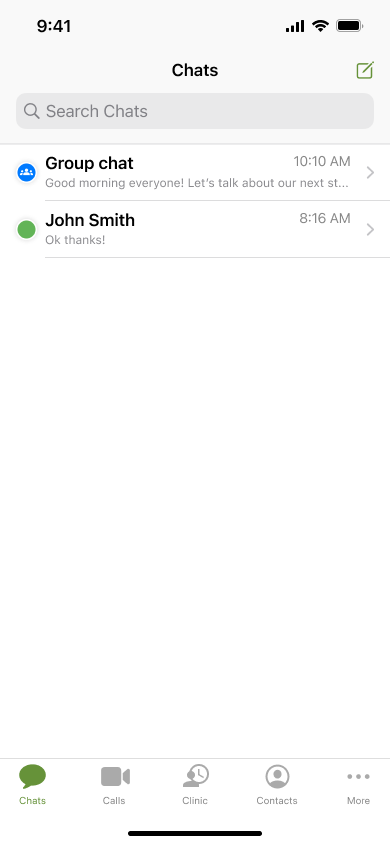
You will be automatically logged in after the MFA set-up steps are completed.
Logging in after MFA Setup
After you have successfully set up MFA for your account, the next time you log in, you will have quicker and more secure options to log in.
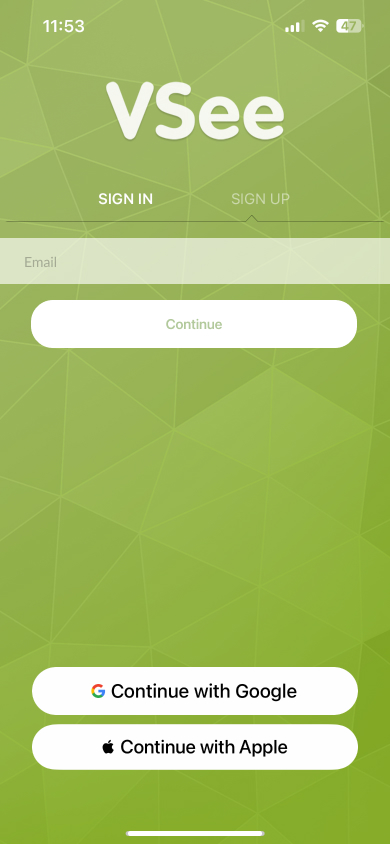
Log in with your existing email address.
You will see your VSee Messenger log-in page.
You may enter your Username (email) and then click the Continue button to go through the login flow.
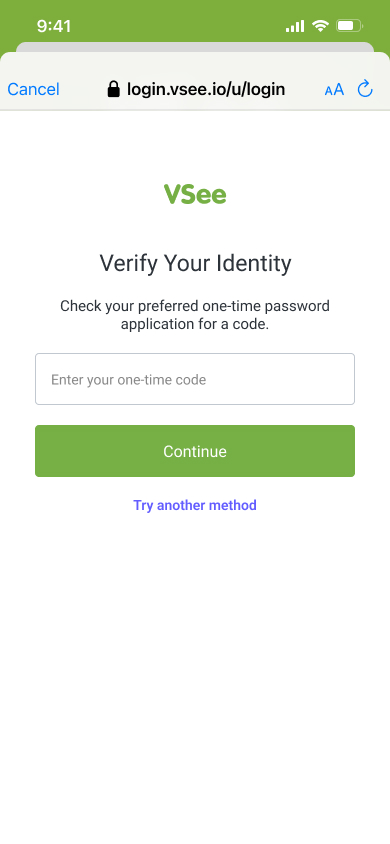
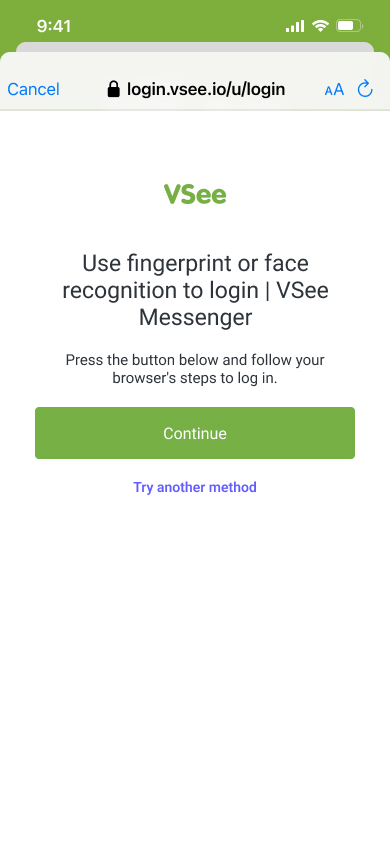
You will be asked to verify your identity using your default authentication option before logging in.
Get the one-time code by opening your preferred authenticator app.
In case you’ve added this device as a trusted device, the default authentication option would be your device’s biometrics feature such as touch ID (fingerprint) or face ID (facial recognition).
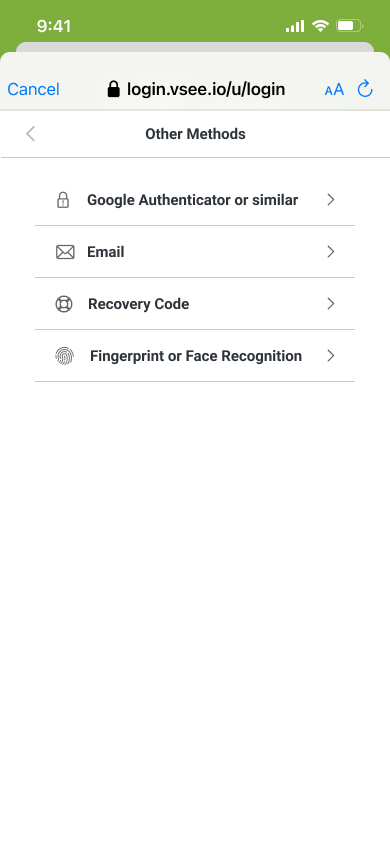
In case you wanted to try verifying using another method, you may click Try another method to see a list of other available factors they may use to continue the verification.
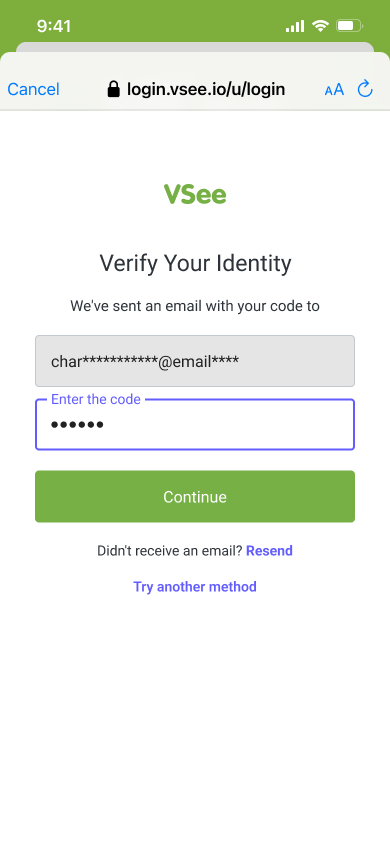
If you click Email as a method that you would like to use to verify, here is the page that you will see.
You will receive the one-time code in your account’s registered email.
You will then need to copy and paste or type in the one-time code (Usually a 6-digit code) in the field below. And you may also try to click the Resend button if you didn’t receive the code.
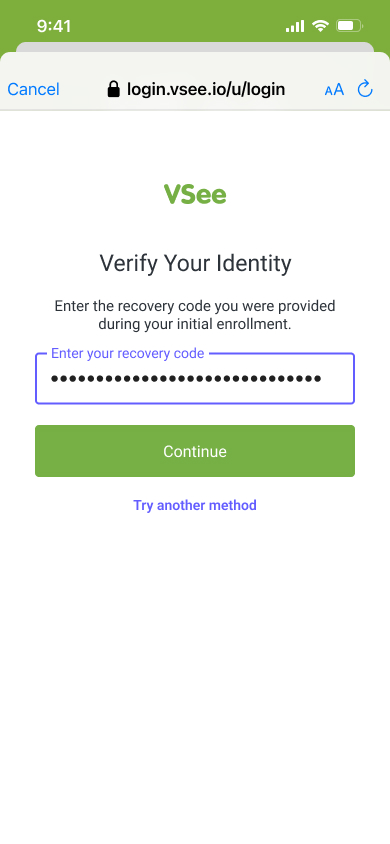
If you click Recovery code as a method that you would like to verify, here is the page that you will see.
You will need to input the recovery code which was given to them during the 1st time you set up MFA, and click Continue.
In case you’ve run out of methods or have completely lost access to any of their registered factors, you will need to request VSee admin via VSee customer support to reset your account’s MFA.
You will be automatically logged in after the MFA set-up steps are completed.

Note: Users will see the normal login page if their account belongs to an organization that does not require MFA. They may log in normally, the same as before.
Need more assistance? Send us an email at help@vsee.com or check out the Help section under the Profile Menu of your VSee Clinic.
This article was last updated on: June 06 2023